Step by step guide – Sine sweep – Windows
Step by step guide.
What you need:
- D.A.W (Digital audio workstation)
- Voxengo deconvolver
- Amplifier with effects loop
- Microphone
- Audio interface
Step 1 – Start up your D.A.W

Open DAW and create several Audio Tracks
(D.A.W stands for Digital audio workstation)
Examples:
Step 2 – Lead track 1 through rig
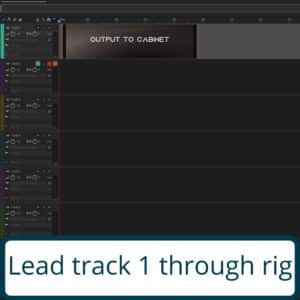
First Audio Track is used for sending the signal through my rig. No input needs to be selected here, Just select the output going into the rig.
Step 3 – Set track to record from microphone
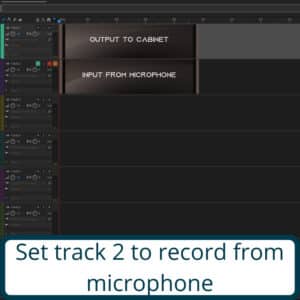
Secondary Audio Track(s) is used for recording the signal coming out of the rig, Select the input for the corresponding microphone(s), Output on these channels are not necessary.
Step 4 – Place sweep on track 1
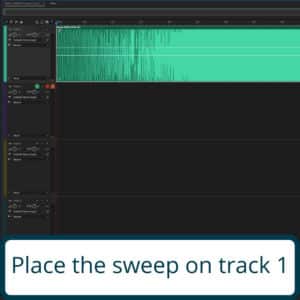
On the first Audio Track i place a sample consisting of the Frequency Sweep, You can download the sample here.
Step 5 – Arm and record
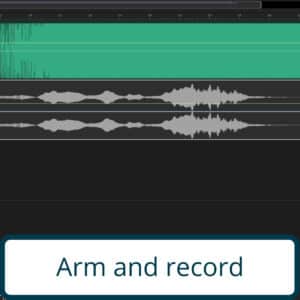
Ready all secondary Audio tracks with inputs for recording, Make sure that you Record at least 1 sample length more than the length of the Frequency Sweep to capture the ending clearly and record the Sample going through your Rig.
Step 6 – remove silence
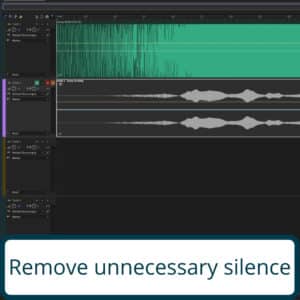
Trim any unnecessary silent beginning of the recorded Audio, so that you have the recorded Frequency Sweep at the start of the recorded audio file.
Step 7 – Open Voxengo deconvolver
Step 8 – Select test tone file
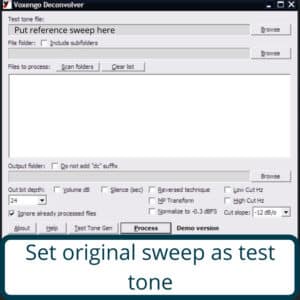
Choose Original Frequency Sweep as reference
Step 9 – Select file to process
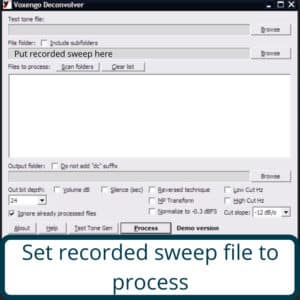
Choose Recorded Frequency Sweep as recording.
Step 10 – Deconvolve
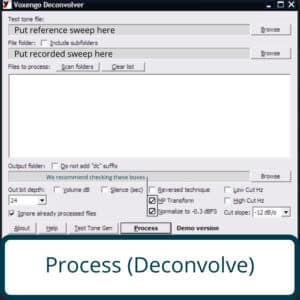
Save/Convert resulting in finished Impulse Response with added _dc in the name in .WAV format.
- Reversed technique is used with sweeps test tones created with fade-in and fade-out
MP Transform enables minimum-phase transform that takes place after deconvolution (Removes pre-echo)
Normalize to -0.3 dBFS enables automatic normalization of created impulses to -0.3 dBFS level.


0 Comments